Select date

Tactical Technology for TEOTWAWKI – Part 2, by


by J.M., Survival Blog:
(Continued from Part 1.)
YOU CAN’T STOP THE SIGNAL!
Much of the gear I’ll be discussing utilizes wireless communications for remote control and data exchange, so there are a number of dynamics that need to be understood to maximize their use. First, there are the factors that impact every radio signal:
- Transmission power – The more power used to transmit, the stronger the signal and the further away it can be received. In the US the Federal Communications Commission (FCC) sets limits on how much power can be used to transmit.
- Antenna – The more closely the antenna is matched to the desired wavelength (or an even subdivision thereof – e.g. ½, ¼, etc.) the better the reception. The location and orientation of the antenna can also impact transmission and reception. In general, the higher the antenna is the further it can transmit and receive, and a having both the transmitting and receiving antennas in the same orientation (vertical or horizontal) will tend to improve the communications.
- Obstacles – The obstacles between two points of communications can impact how well the signal gets through. This can include rain and snow.
- Electromagnetic Interference (EMI) – This is the disruption of radio signals by other sources of electromagnetic radiation. The good news is that in a post-SHTF scenario the most common forms of EMI (like power lines, microwave ovens and WiFi networks) probably won’t be an issue.
- Distance – In general, the further apart two communication points are the less likely they are to have a good signal.
- Frequency – Lower frequencies tend to travel further than higher ones.
I know the radio purists out there are probably grinding their teeth at my over-simplifications, but I just want to provide some general ideas for how various factors can impact wireless communications. Note that most of the equipment I’ll be discussing utilizes WiFi networking and a 2.4GHz frequency, so that’s what I’ll be focusing on here.
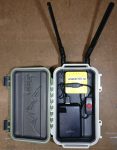
For WiFi networks there are two common types – ad-hoc and infrastructure. Ad-hoc networks are point-to-point networks – two devices connect directly to each other to communicate back and forth. Infrastructure networks have some kind of central router device which multiple devices connect to and exchange information. Some of the equipment I’ll be discussing creates its own WiFi network and you have to connect directly to it with your mobile device to control or access it, which is essentially an ad-hoc connection. Other equipment requires that a separate WiFi infrastructure network already be present to connect to – for these types of devices you can use something like a GL.iNET GL-MT300N, which is a tiny USB-powered WiFi router. I made a field-deployable WiFi network in a box using an Otterbox DryBox 3250, a GL.iNet GL-MT300N router, a small 10,000mAh USB battery pack, some SMA pigtail cables, a USB cable with a power switch, a short USB cable and some high-gain USB antennas.
The MT300N router circuit board has two small U.fl/ipx connectors that aren’t used, so you can open the router (the bottom panel pops off), plug in the short SMA pigtail cables, drill holes in the top of the Otterbox for the SMA connectors (and seal with silicone!) and attach the external antennas to significantly increase your range.
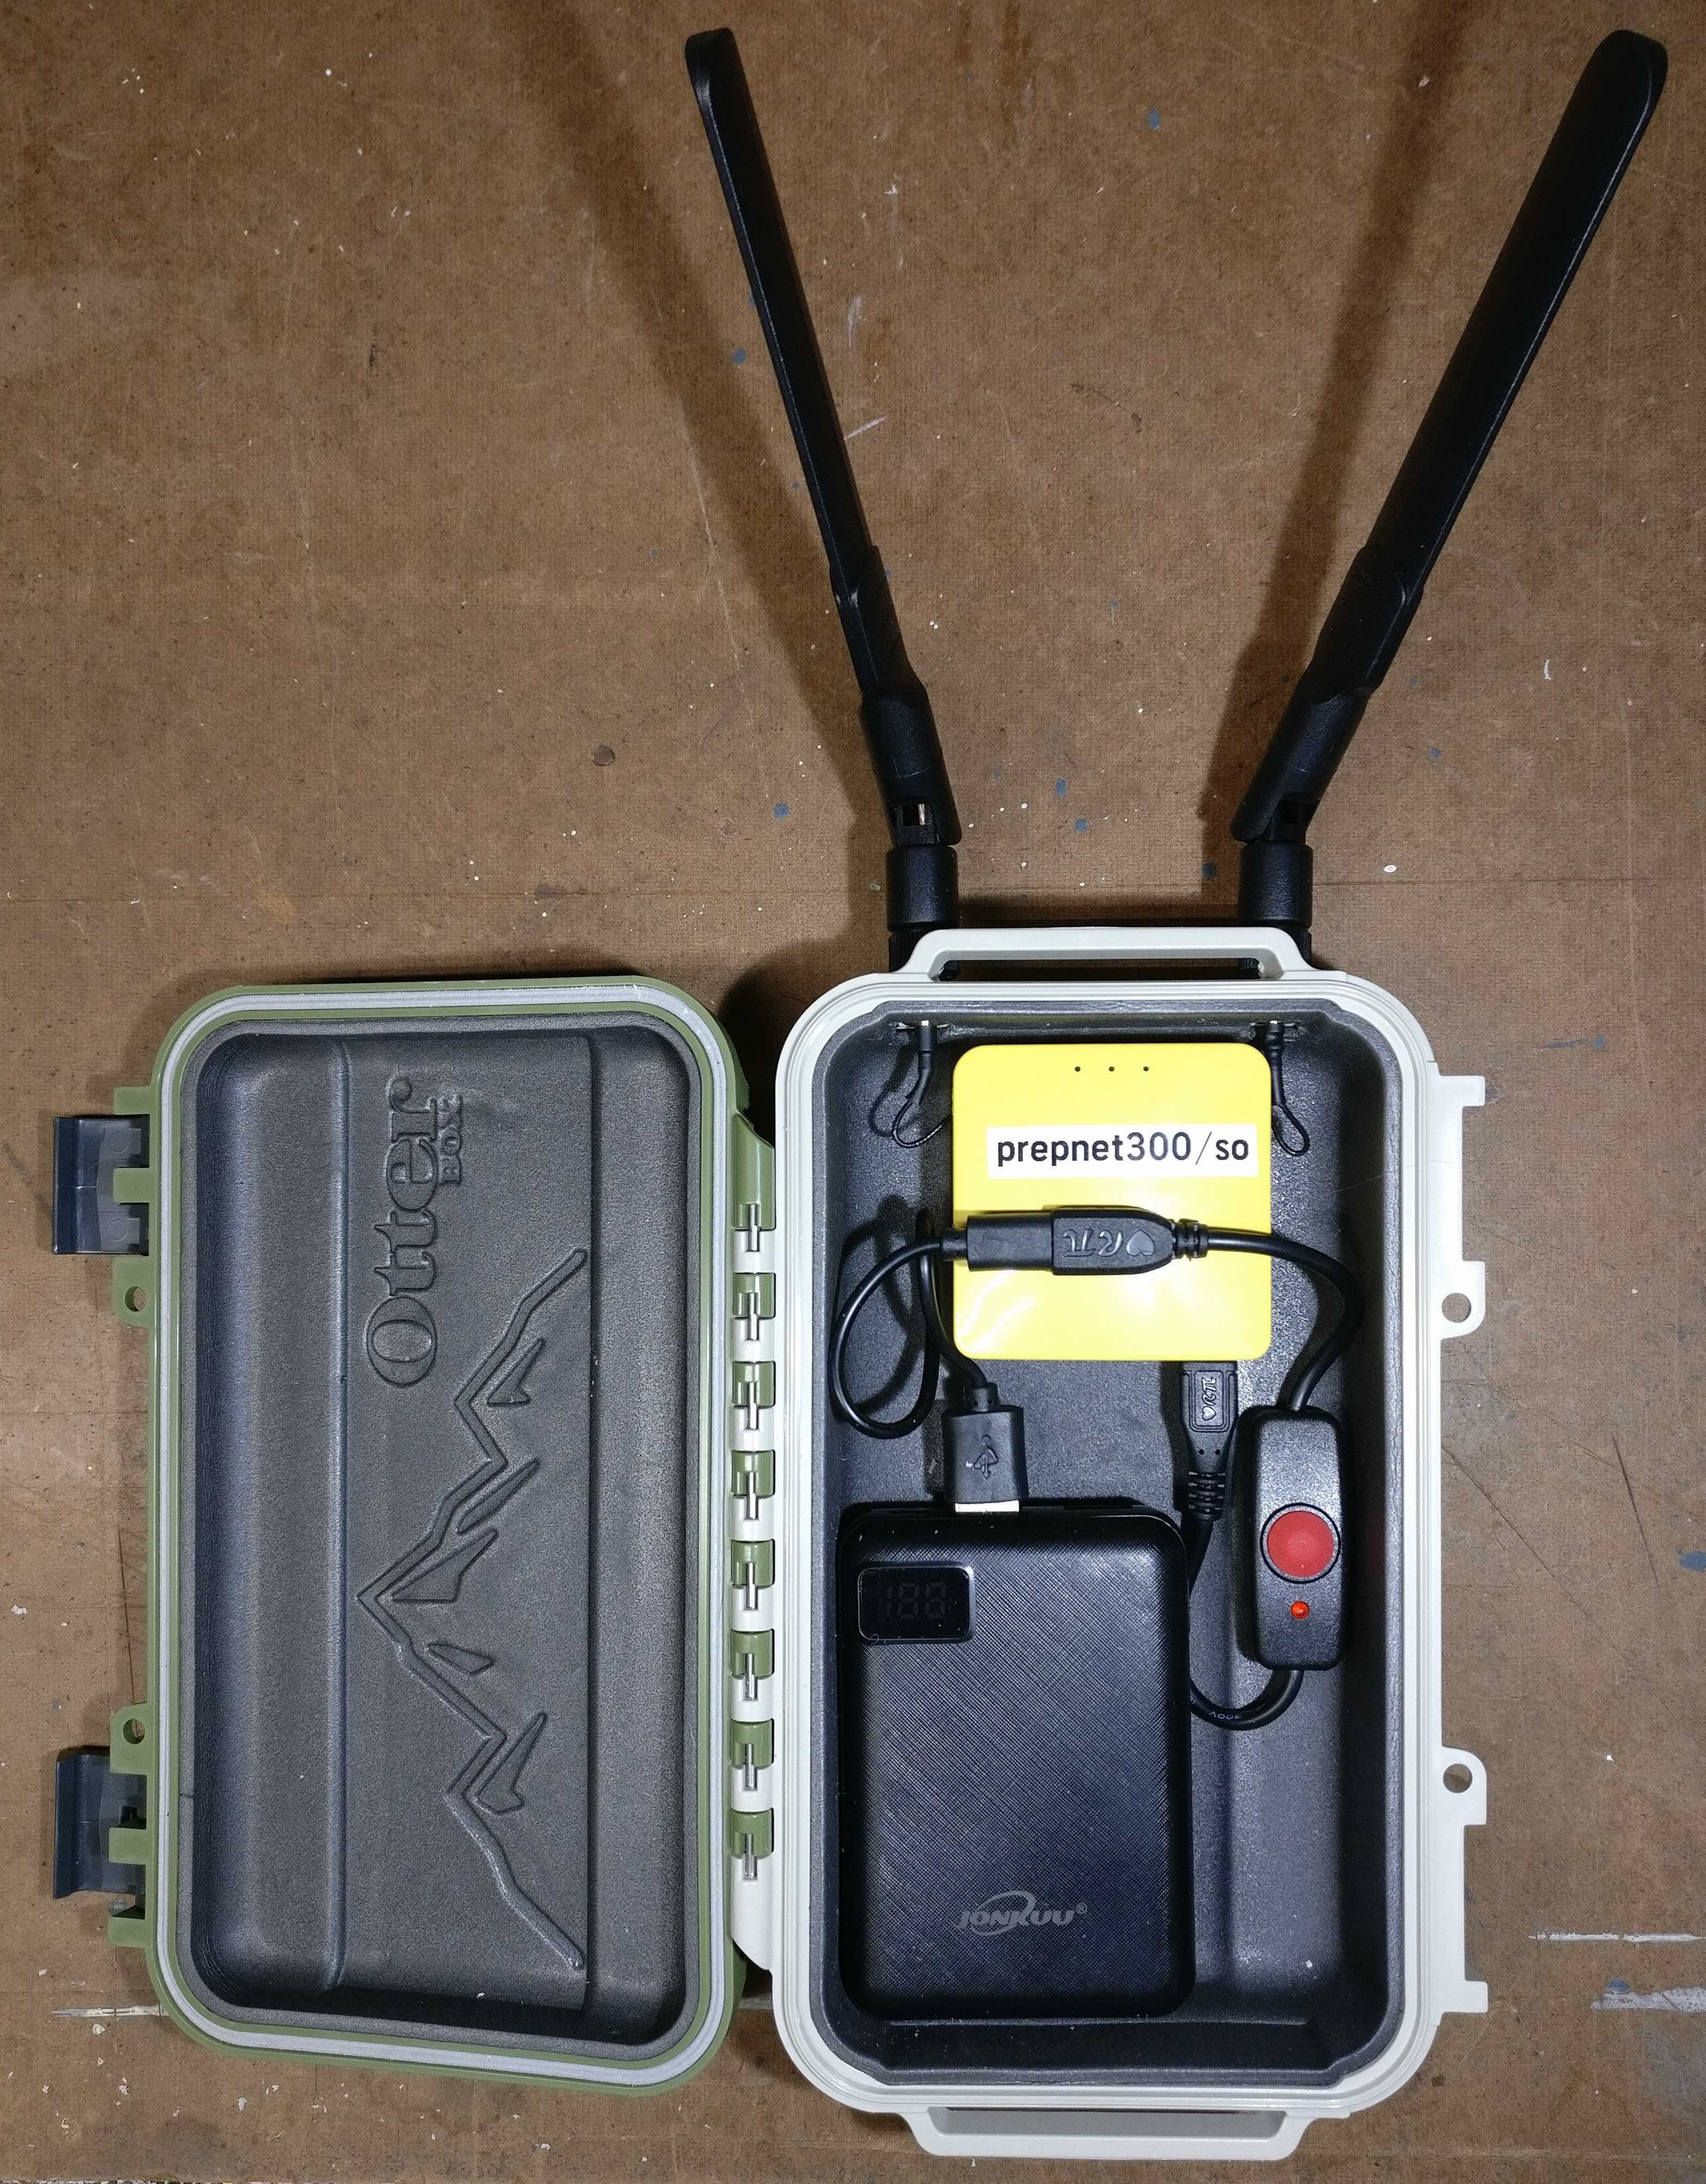 A 10,000mAh battery will power the network for over 24 hours (depending on the load), and the range can reach 100’ in moderately obstructed terrain. The two antennas unscrew and store inside the box for transport. You could make a much smaller version by removing the router and battery from their casings and soldering the connections. Much of the equipment discussed tends to have somewhat limited transmission power and small antennas, which reduces the range at which it can operate. If you need to increase the operating range there are a number of potential options available:
- Xaomi WiFi Range Extender – This is the greatest thing since sliced bread for field WiFi communications. It plugs into a USB battery and re-transmits WiFi networks it can see, usually with a much stronger signal. You can use this for devices that create their own WiFi network such as drone video, WiFi cameras, etc. Note that it can only be configured to extend one WiFi network at a time, and you need to reset and reconfigure it to handle a different one, so you’d be better off buying a couple of these and dedicate one to each of your devices. Also, it won’t extend ‘unsecured’ networks, so it may not work with devices that don’t require a password.
- External Antenna– Many devices that use WiFi have a small antenna that’s nothing more than a short copper trace laid down on the printed circuit board (PCB). Depending on the particular device it’s usually not too difficult to add a much better external antenna – here’s an example of how to it on a drone. I mentioned another example earlier with the GL.iNet GL-MT300N router that has unused U.fl connection you can use to plug in an external antenna.
- Antenna Upgrade – If your device already has an external antenna (or you’ve added one), upgrading the antennas can improve your communications range. You can add a better antenna, Yagi or Cantenna, or just DIY upgrade your existing antennas.
As I discuss specific devices later on, I’ll include some information on how you can leverage these various options to increase your range for each. You should note that if you want to gain a true understanding of how well each device will be able to communicate in a post-TEOTWAWKI field scenario, you’ll need to test them out in an environment that emulates what you’ll see in that scenario (like the middle of the woods). For example, when I first got the GL.iNet GL-MT300N router and tested it out around my house I was pretty disappointed in the range until I cranked up a WiFi analyzer app and understood just how much EMI noise there was in my area. I was able to see at least 5 other WiFi networks in addition to the two overpowered ones I run in my own house, and that didn’t even cover other sources of EMI interference like microwave ovens, electric motors, power lines, etc. The little mini router was struggling to overcome a lot of other signal noise, but when I took it with me on a backpacking trip and tried it out in an area where there wasn’t even any cell coverage the range was dramatically better.
WATER, WATER EVERYWHERE…
Water is insidious, and getting electronic devices wet is one of the fastest ways to destroy them. However, if you’re going to be deploying electronic technology while in the field you’ll have to consider that it might rain occasionally (unless you live in Death Valley), or you’ll get condensation due to changes in temperature and dew point. The good news is that there are things you can do to reduce the impact of moisture on your field electronics.
The most obvious approach is to stick with electronics that are already waterproof or water-resistant out of the box. Some of the mobile devices I discuss later on are factory-designed and tested to resist water, but unfortunately, most of them aren’t. In some instances like the cameras I’ll be discussing the manufacturer provides a waterproof case for the device, or cases are available from third-parties. For things that don’t have available cases I’ve made some small DIY dry bags out of camo silnylon I got off of eBay to put them in when I deploy them in the field. The bags help keep them dry as well as providing some camouflage (some of the device are white or bright yellow).
Another option for increasing the water-resistance of electronic devices is the use of a conformal coating. This is a non-conductive silicone or acrylic-based liquid that you ‘paint’ onto electronic circuit boards to make them waterproof. I’ve used this on most of my drones, cameras, etc. – anything that I plan on using outside. There’s one thing that you need to be careful of when using conformal coatings – if you unplug all of the connectors and take the circuit board out of a device to coat it, make sure that you don’t get the coating on any connector jacks on the board. Otherwise, the connectors will be insulated when you plug them back in and the device won’t work.
If possible, unplug the connectors, take the board out, put the coating on the bottom and top (avoiding the connectors), put the board back and plug in the connectors, then apply additional coating on the connectors. This will make it a lot more difficult to disassemble in the future, but it will provide additional protection. For things like battery wire connectors, you can wrap them in waterproof tape. This won’t make your device 100% waterproof, but it should significantly reduce the chance it’ll stop working if it gets splashed or lightly rained on. If you’re dealing with something with electric motors (like a drone), your options for waterproofing those components are pretty limited.
For external connections like antennas, you can use rubber gaskets or o-rings at the base of the terminal before screwing the connection together to minimize the risk of water wicking up into the connector. Some types of connectors are available in waterproof versions, so do some research to find an option for your requirements.
IT’S THE HEAT…
Heat is another potential enemy of electronics. Every electronic component generates heat when operating (including batteries), and too much heat can destroy electronics and even cause fires. The good news is that modern electronics tend to be fairly tolerant of higher temperatures, and most manufacturers provide an operating temperature range as part of their specifications (usually north of 100°F). Most devices rely on radiation into the ambient air to shed excess heat, so as long as your device has air that’s cooler than the device itself flowing around it while operating you should be fine.

